To start, i spent a while looking at construction sites in the Derbyshire area and noticed a few components which practically made up the entire site. This involved cones, corrugated metal fences, bricks and concrete blocks so with these i could practically create any form of construction site by simply changing their placement within the scene. As all of these props are relatively blocky, it gave me a lot to work with alongside the very limiting 1000 poly-count.

These didn't take too long to construct but i had to ensure that the fence could be copied without looking too much out of place whilst also hiding as much of the background as physically possible just in case i decided to include a wall.
To make the entire UVing process easier and to also allow myself to use tillable textures, i decided to use four 512 x 512 textures instead of the single 1024 x 1024. With this, the fence and support block quite happily fit on a single 512 whilst the cone and block then fit on another 512 although no where near as neatly. With the ground on its only 512 it left me with one 512 spare.


I could have simply broke the last one in to four 256 x 256 textures for vertex painting but instead decided on using it for a brick backdrop as the vast majority of the seems can very easily be covered by the fence panels.

The final step in the planning then was to organise the scene, ensuring that it would provide me with a decent full shot from two different angles for my render. With the low poly nature of my props; i managed to create a semi-circle of fences, three oddly angles cones and a huge assortment of bricks without going over budget.

This just left the texturing phase.
Texturing
Texturing in general was a fairly enjoyable task even with the lower quality 512 texture maps. To help improve the quality as much as possible, i first textured each UV sheet in 1024 so i could then sharpen it using filters before downscaling each one to the appropriate 512.
After creating high poly variants of each prop and baking both the normal maps and ambient occlusion maps in X-normals, i could place each AO on the correct snapshot and begin working on the textures.

The brick texture simply consisted of a few home-made stippled brushes, combined with a sandstone wall and a pillow emboss using an invisible black line to just show the glow, really bringing out its shape. For the cone itself, i started with a simple orange colour and warped a black - white - black gradient using the transform tools and then using a variety of layer styles to make the inner flow of each section. This was fairly time consuming but the end result was worth it.

For the fence and stand, i combined a wide variety of metal textures on top of a the previously generated AO map. After adding some emboss layer styles and inner shadows, i managed to create a texture that i was generally quite happy with but due to the downscaling, a lot of the specific detail i relied on had been almost entirely removed. For the base; i re-used the brick texture created previously combined with an inner shadow and finally for the pipe i utilised a rusted pipe base texture with the shine from a polished pipe overlayed to make a semi-realistic metal texture.

The ground was incredibly simple as all i had to do was overlay and play around with a variety of dirt, wood and stone textures before creating a high pass, off-setting the image by 256 pixels and altering the general colour scheme, ensuring that i was left with a brownish tillable texture that i could then easily use for the floor/ base.

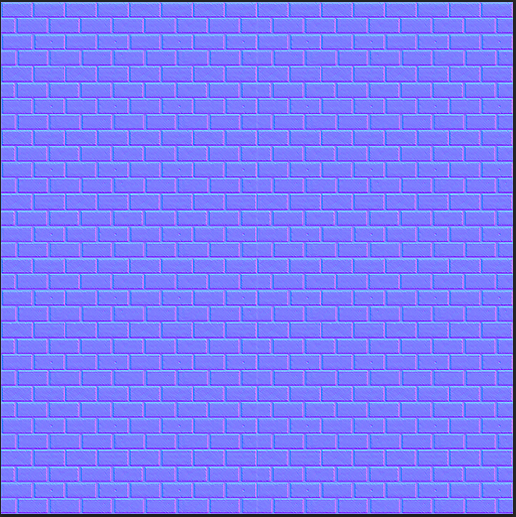
As i decided eventually to have a brick back drop to hide the sky-box, i utilised a 5 and a half brick segment from a sand stone wall before off-setting it, filling in any errors and attempted to make it fully tillable. To really bring out the bricks, i created a new layer, put it on multiply and coloured in all the gaps between the bricks. After upping the general light factor of the bricks i could then call it done. It doesn't tile perfectly but quite happily does the job.
To enhance all of the normal maps for each texture, i started with the basics i baked earlier before creating a second copy of each individual texture sheet, combining them and then using the x-normal 'high to normal' plug-in to generate a partially detailed map. I then duplicated these layers, set the new ones to overlay, surface blurred then and then overlayed the newly created normal maps over the base variants.


With all the normal maps fully generated i loaded them straight in to Maya, applied them to my meshes and it gave me a good of idea of how i wanted it all layed out and how it would then look when fully imported in to UDK, ready to be presented.

No comments:
Post a Comment